
How to
Reorder Scenes
Section titled “Reorder Scenes”Scenes in Radial Timeline can be reordered in two ways: by renaming the scene title or by dragging scenes in Narrative Mode.
Prefix Numbering Convention
Section titled “Prefix Numbering Convention”- Scenes use canonical integer prefixes:
1,2,3, … - Beats use decimal minor prefixes between scene integers:
1.01,1.02, … - Front matter typically uses
0.xx; Back matter uses200.xx. - Use two-digit minor parts (
.01,.02) for stable Obsidian filename sorting.
Method 1: Reorder by Scene Title (All Versions)
Section titled “Method 1: Reorder by Scene Title (All Versions)”Radial Timeline uses the leading scene number in the scene title to determine order.
Example:
1 Tom rides a bike1= scene orderTom rides a bike= scene title
To move the scene, change the leading number:
3 Tom rides a bikeThe scene is now treated as Scene 3.
Only the number controls ordering—the text after it is the title.
Acts and Scene Order
Section titled “Acts and Scene Order”Scene order is act-specific.
Changing the scene number moves the scene within its current act. Update Act to move it between acts.
Example YAML:
Act: 1With Act: 1, the highest-numbered scene appears at the end of Act 1.
To move a scene to a different act, update the YAML:
Act: 3Always update both:
- the scene number in the title
- the Act field in YAML, if changing acts
Method 2: Drag & Drop (Narrative Mode Only)
Section titled “Method 2: Drag & Drop (Narrative Mode Only)”- Switch to Narrative Mode
- Drag a scene or beat note on the outer ring (cursor becomes double arrow)
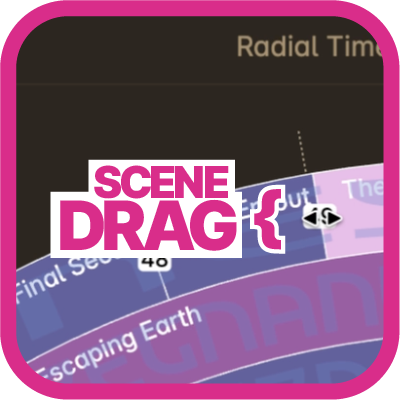
- Drop the scene into its new position on the numbered scene square
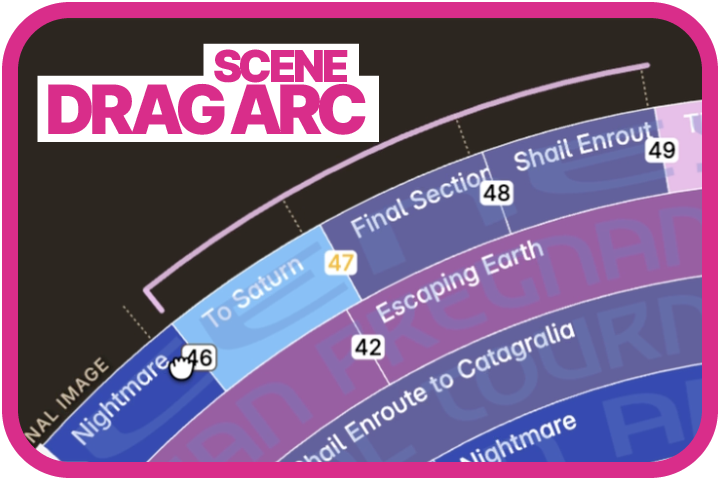
- Confirm the change when prompted
This method automatically updates ordering for you.
Note: Reordering works on the outer ring only. You can drag into an empty act by dropping onto one of the empty void cells for that act.
Summary
Section titled “Summary”- Scene order is controlled by the number at the start of the title
- Scene order is scoped to the Act
- Changing acts requires updating the YAML
Act:field - Narrative Mode supports drag-and-drop reordering
Move Scenes Between Subplots
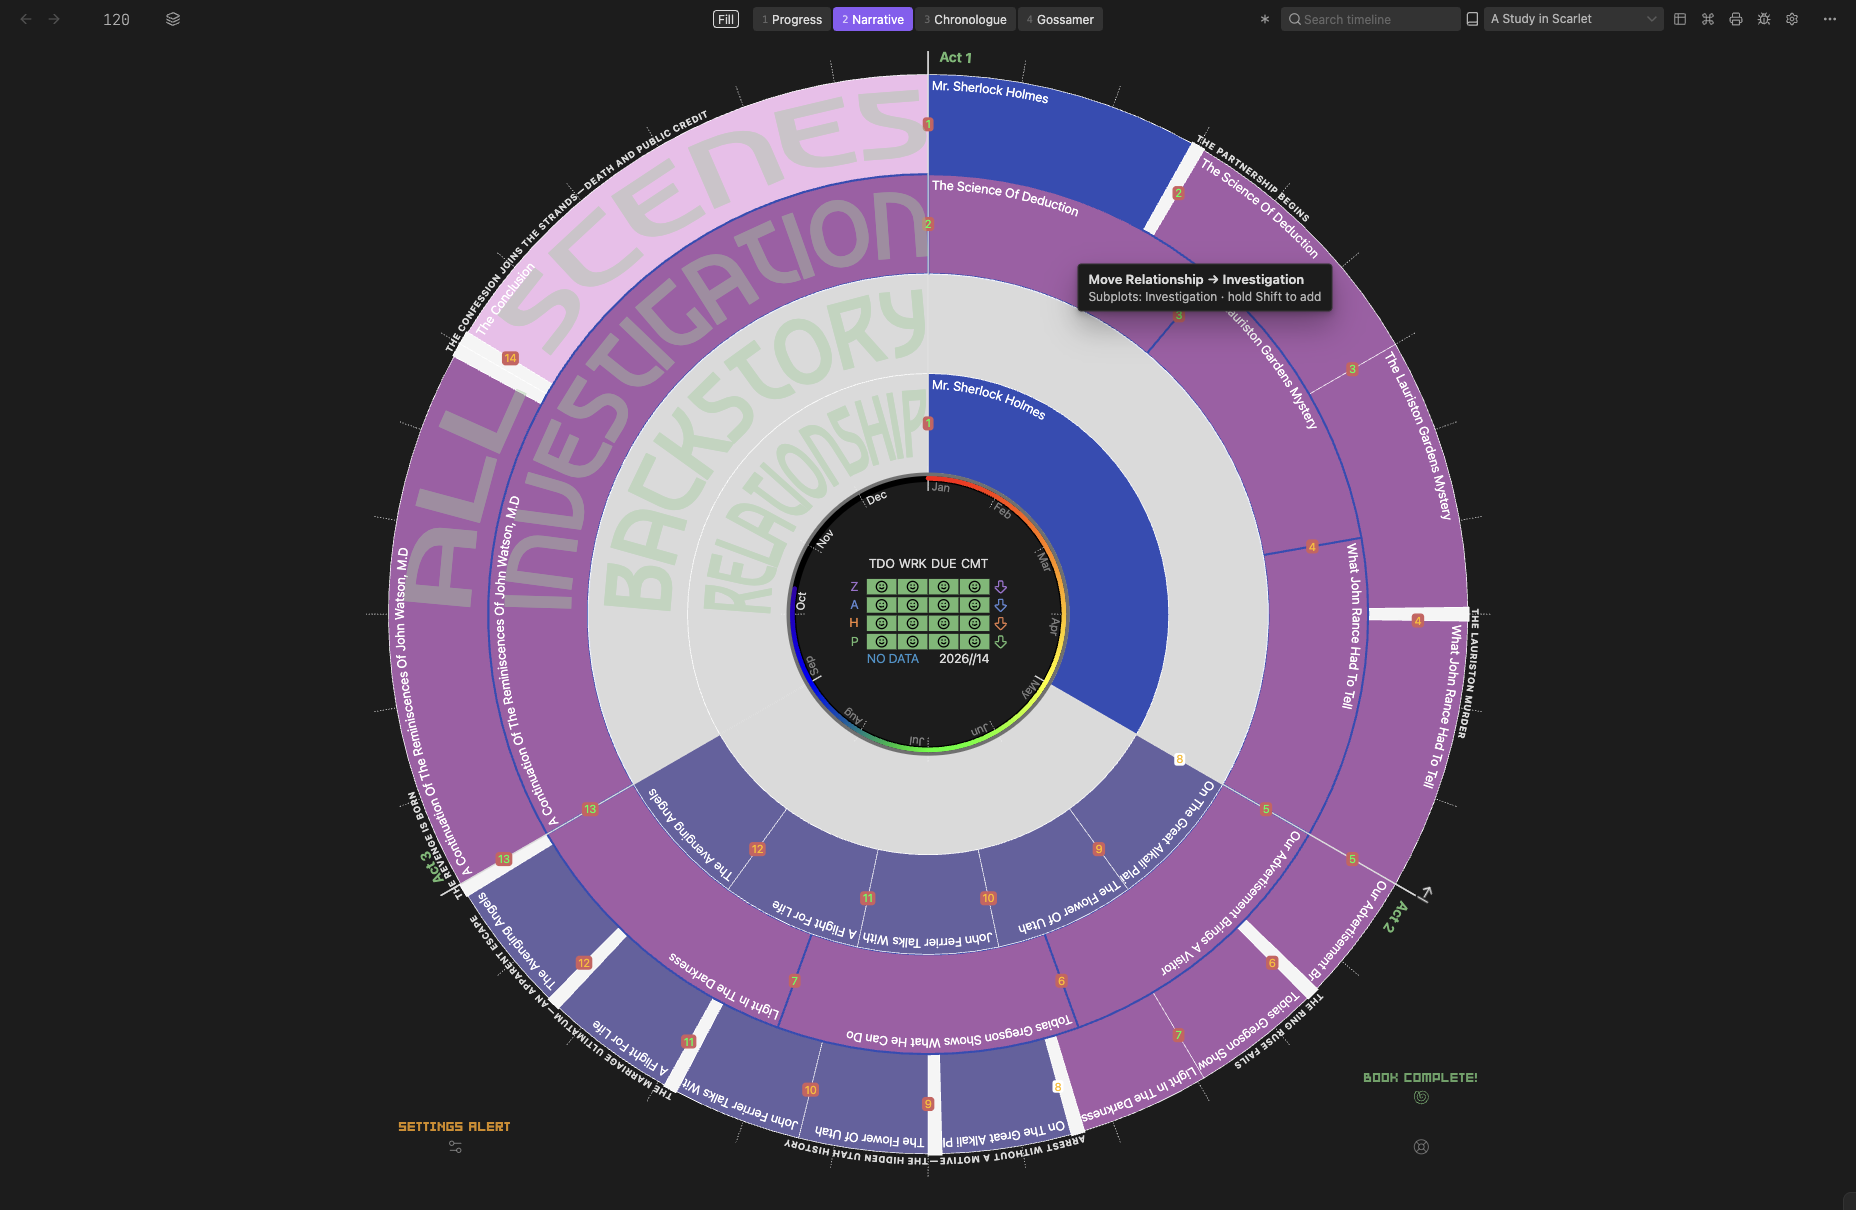
Section titled “Move Scenes Between Subplots”Move a scene to another subplot (Narrative, Chronologue and Progress modes): drag the scene where it sits on one subplot ring and drop it on another subplot’s ring, on a scene or an empty cell. It leaves the subplot you grabbed it from and joins the one you dropped it on; its other subplots stay. Hold Shift as you drop to add the subplot and keep the one you grabbed. The ring you’re over is outlined in its subplot color. On a move, the scene takes that color too; with Shift it keeps its own, since it stays where it is. A label by the pointer says what the drop will do, and the confirmation uses the destination’s color. In Narrative and Chronologue the outer ring lists every scene and keeps its own drag (reorder, re-date), so start from the scene’s subplot ring. In Progress mode the outer ring is Main Plot and works like any subplot ring. A scene with no Subplot is in Main Plot. Only the scene’s Subplot field changes: nothing is renamed or reordered, and its act stays put even if you drop it in another act. Each change offers Undo, and right-clicking a scene gives the same Move, Add and Remove actions.
Change a Scene’s Date
Section titled “Change a Scene’s Date”Drag a scene on Chronologue’s outer All Scenes ring, then review its new date and whether undated followers should travel with it. See Chronologue placement.
Manage Subplots in Bulk
Section titled “Manage Subplots in Bulk”Need to rename or delete a subplot across dozens of scenes? Use the Subplot manager command (command palette → “Radial timeline: Subplot manager”). The panel lets you:
- Rename a subplot and automatically update the frontmatter of every scene using it.
- Delete a subplot and strip the tag from all scenes in one action.
Use it to keep subplot names consistent after reorganizing your story.
Format Your Text
Section titled “Format Your Text”Every note has a signature icon at the far right of its title bar. It lists Obsidian’s formatting, with each one’s hotkey and what to type, and every row can be clicked. The key opens in the right gutter, past the end of your text.
Select some words, or put the cursor where you want it, then hover the icon and click a row. The key stays open while the pointer is on it, so you can apply several in a row. It closes when the pointer leaves.
- Selected text wraps the words you selected: bold, italic, strikethrough, highlight, comment and links. Clear formatting takes them off again. Highlights come in six colors with Obsidian 1.14 or later.
- Whole line applies to the line the cursor is on: headings, bullet and numbered lists, checkboxes and quotes.
- Insert adds a footnote after the selected words and moves you to its note, ready to type. Tables and dividers go below the line.
- Callouts wrap the selected lines in a colored box. With the cursor in a callout, click another type to change it.
You can also select words and type the mark. ==, **, *, ~~ and [[ wrap the selection and keep it selected, as long as Auto pair Markdown syntax is on in Obsidian’s Editor settings.
The key shows your own hotkey if you’ve set one. In Reading view it’s a sheet to read; switch to editing to apply formatting.
Comments and callouts are left out of PDF and Word exports by default, so they suit notes to yourself. Highlighted words print as plain text in those exports.
Search
Section titled “Search”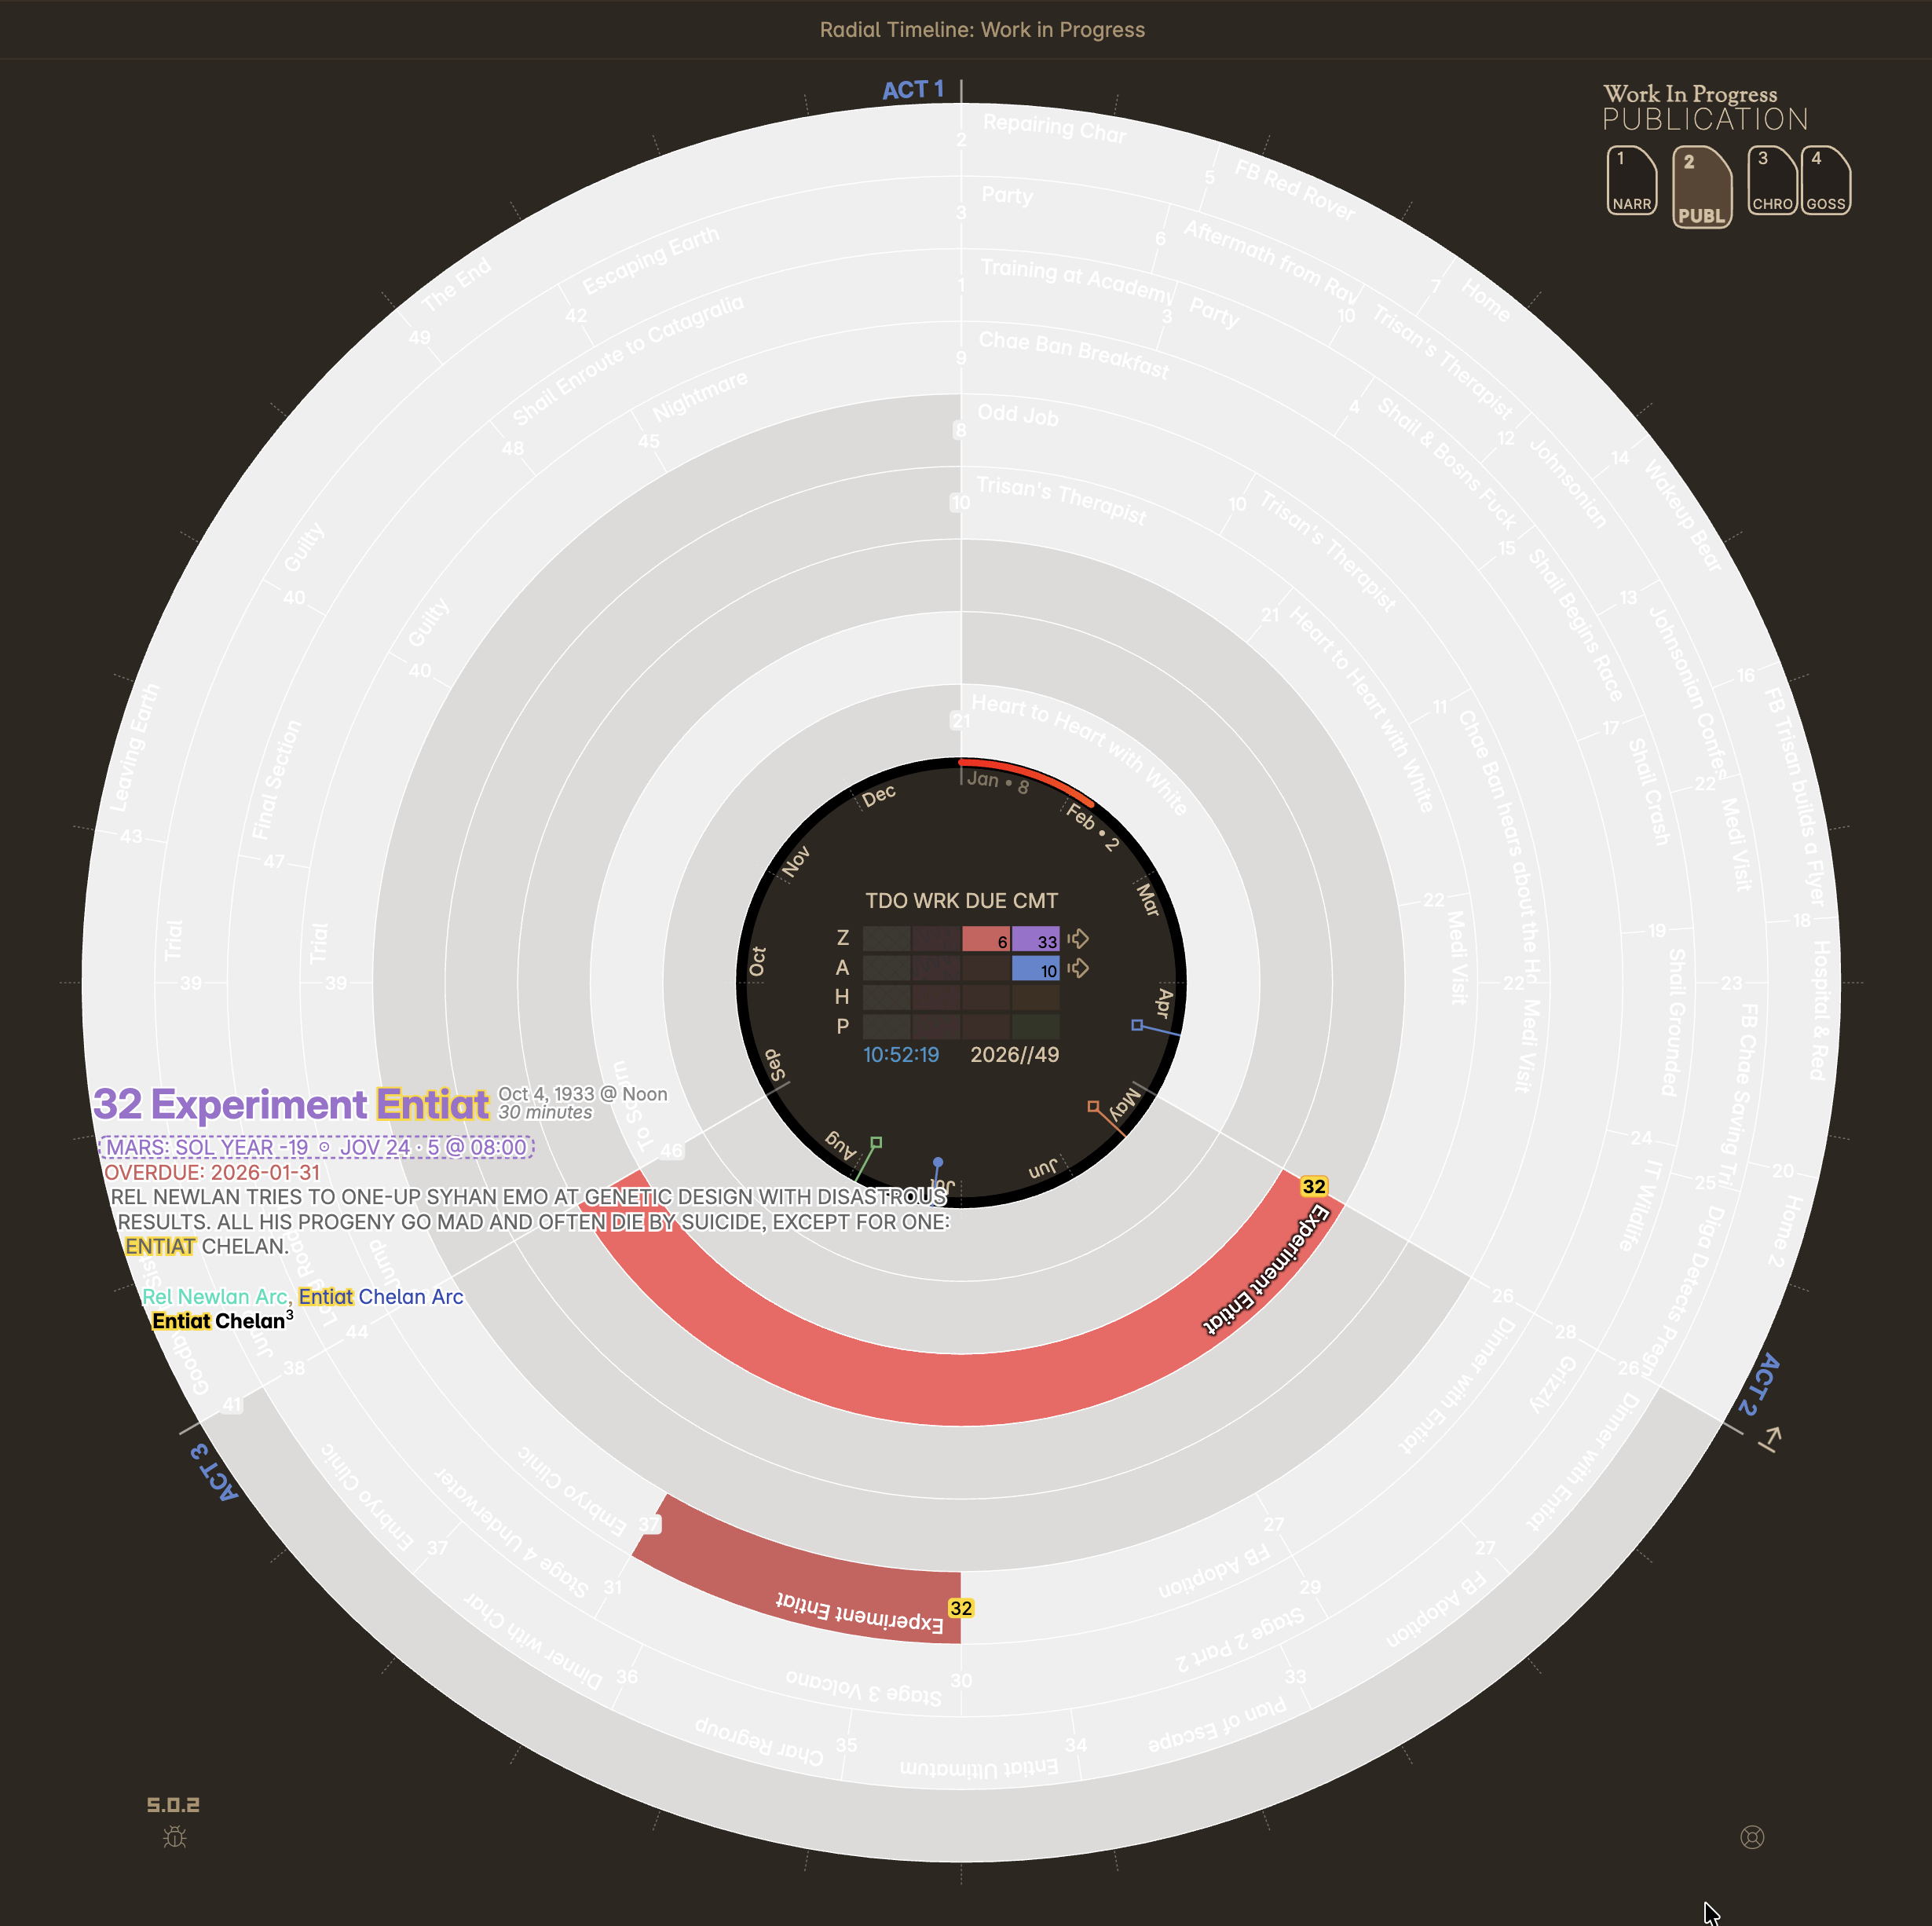
Search — matching scenes highlighted in yellow across all subplot rings
Open Radial timeline: Timeline search, choose Search options, and press Enter to search.
- Timeline fields searches scene titles, synopses, characters, subplots, durations, dates, planetary-time text, and custom properties enabled in hover metadata.
- Scene body searches the prose. Open a matching scene to see the matching passages highlighted in the editor.
- Local LLM assist finds concept matches in the selected scopes using your configured local model. Each accepted match includes a quote verified against the searched text. The panel reports progress, dropped claims, and unreadable scenes; Cancel stops a running search.
Timeline fields is selected by default. Your scope choices are saved. Matching scene numbers light up across subplot rings; hover highlights apply to matches in timeline fields. Use Clear timeline search to clear the results.
Local LLM assist sends the selected material to your configured Local LLM endpoint. Use a server on the same machine to keep manuscript text on-device.
Headings set in Kalice, Claude Type, designed by Margot Lévêque.